Thursday 21 February 2013

Evaluation of Studio Photography Project

Evaluation of Studio Photography Project

I think the studio photography project has been quite a difficult one to master, some bits iv'e found have been very enjoyable such as the glass photography i was very happy with the outcome and i'm pleased with my final image i have put forward for the final images. I think i have captured the colours well in this pictures of the glass mushroom and also captured the multi-coloured effect in the shadow as well. However in some of my other glass images i think i had the exposure slightly to bright, and this made the object merge in to the background more then id have liked.
Taking photos of the flowers i tried to carry out a different approach and made the images quite dark, as well as keeping them looking delicate i think on some of the images i produced it took away from the flowers and focused more on the barrel i had used to place them on, but then with the image i have chosen i went for a clear glass vase so you could see the colours coming through i think this worked a lot better. I used Photoshop afterwards to add in some highlights on the flowers and also used the dodge tool to add in some light to the glass vase.
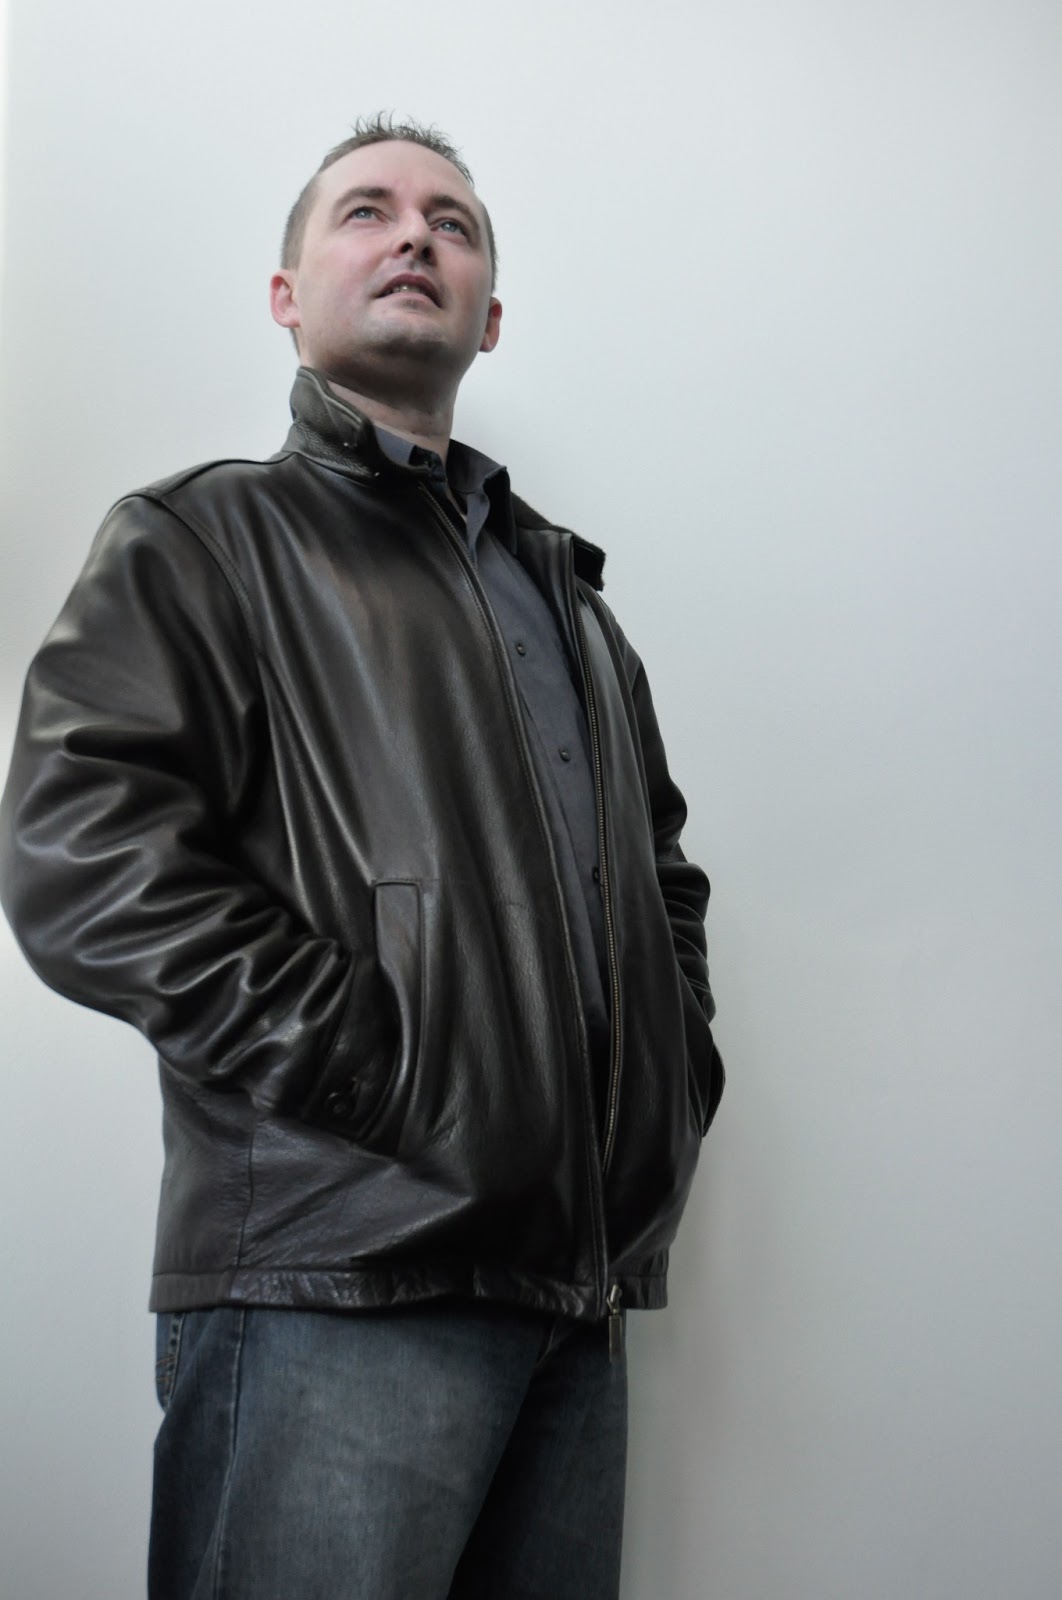
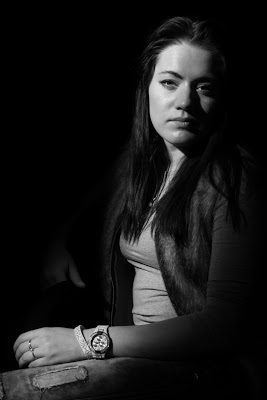
I used Maya as a model for my low lighting shoot, however i think these images came of to strong for using a female model i think it is a very masculine light source. It's supposed to create an intimidating, bold photography however Maya is still looking pretty and feminine  Although i am very happy with the shot i have taken, and like the picture overall if i was to do this again, i would defiantly make these changes in which to use a male model and maybe add some more props such as hats and a blazer to create a real masculine scene.
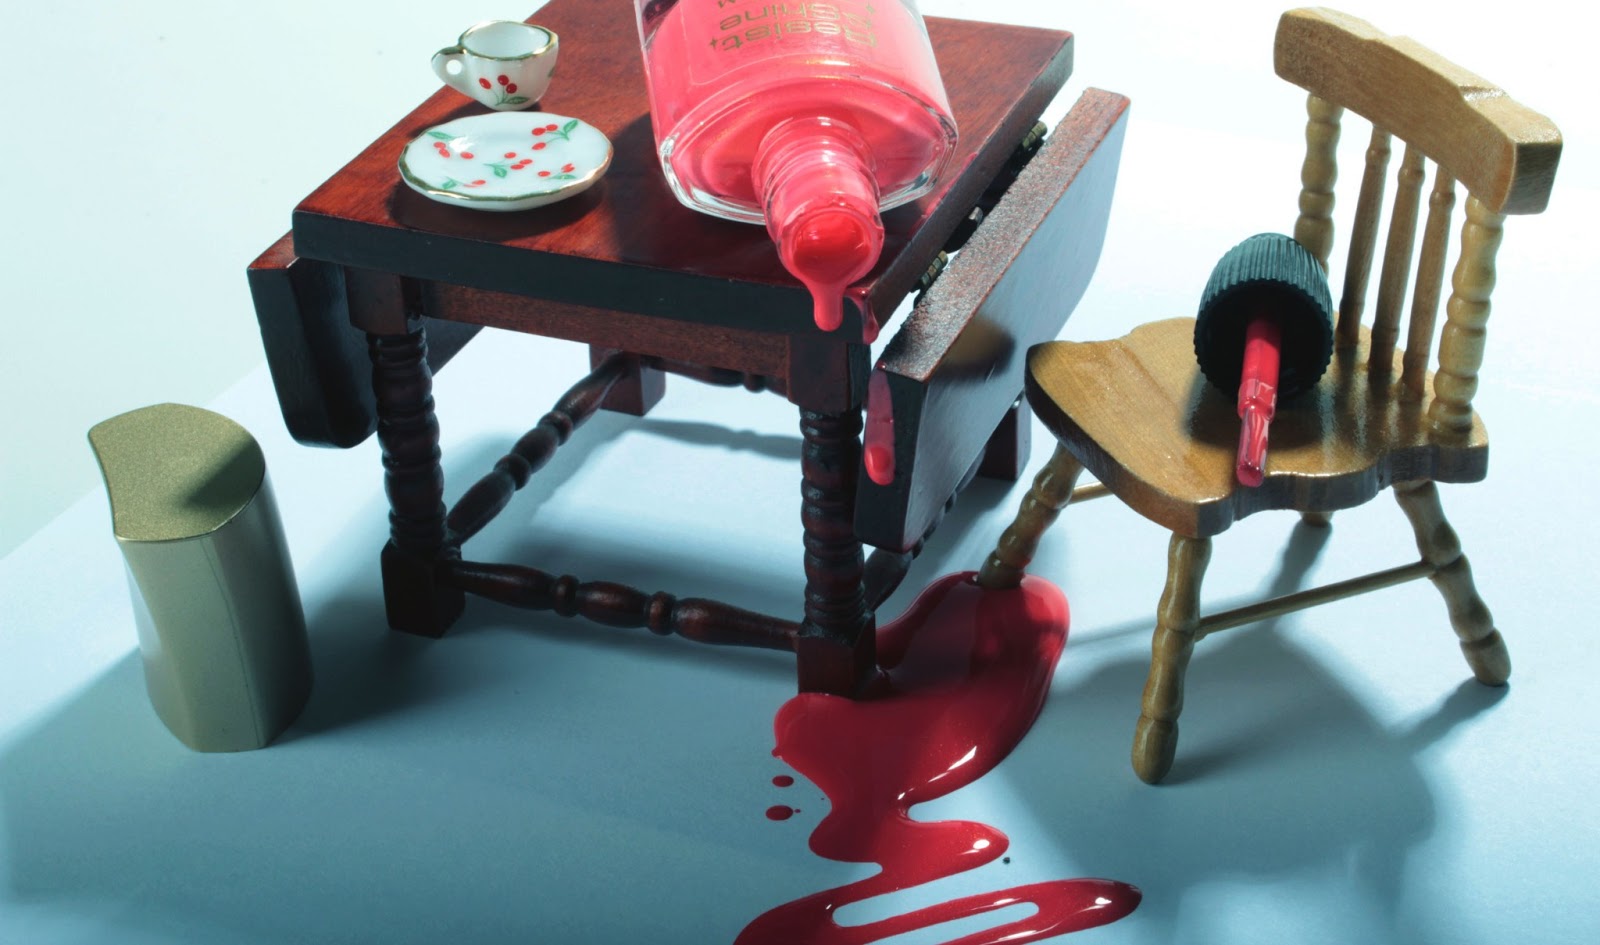
To create my commercial photography i though long and hard about what type of style i wanted to create, i wanted to do something different and inventive. So i dug out some old dolls house furniture i thought i'd try recreate a home scene so it was something everyone could relate to. The meaning behind it was being female we all make a mess when doing out nails and its usually all over something we wish it wasn't! so i tried to recreate this by poring the nail varnish and placing it across the table. I then added some final little details by adding in the cup and saucer.
I decided to use a pocket watch iv'e owed for a while for my jewelry photography, It has a lot of detail on the surface and itself and chain are a gold bronze type colour. I thought about what type of textures to add to the foreground to make it strand out as well as to bring it out. I decided on using a metal iron to wrap the chain around and balanced it across some rocks. I took a lot of frames on this one, as i found it very difficult to not get a lot of glare on the watch i used pieces of card with tinfoil wrapped around them to try reflect the light away and i also tried using a reflector. In the end i was happy with the shot i took, but i then decided to edit it using lightroom, this is also a learning curve for me as lightroom is a new program in which i am using so i did some experimenting and came out with my final image. I really like the effect it has created across the image and think it really brings out all the different colours.

Overall i really enjoyed the studio photography assignment  and would love to do it again to see how much i have improved. I feel that some of my images are more stronger then others, but the five i have chosen i am proud of taking i think looking back on some of my older images i can see an improvement as well as areas to improve on. I think for the next assignment i will really work on shadows and iv'e found i have bits of glare i would rather get rid of in a few of my photographs so this is defiantly an area i can work on in my future work.

Studio Lighting- Task One

Studio Lighting

Studio Lighting is very popular with photographers today, studio lighting is a complete set up of lighting to provide exact levels of light and shadow to create a desired effect within the final image. A full studio lighting set is made up of these pieces of equipment:

Backdrop: These can be any of the desired coloring however normally they are white or black.

Lights: These can be at a different wattage and can also be adjusted within the setting on the side on the box.

Soft boxes: These defuse the light, which in turns softens the shadows produced.

Snoot: This allows us to control the direction of the light beam, snoots can also isolate a subject when using flash.
Honey Comb: This narrows the light beam to a circle with soft edges.
Flash Adapter: These are used to as the flash guns go out exactly as you take the picture.

Umbrella: These also defuse the light source like the soft box does.

I have been learning a lot about studio lighting and how it works, Our eyes automatically Control the intensity in which we see by opening and closing it's iris, where as a camera uses three adjustments to control intensity. These are the aperture, shutter speed and the sensor speed ( IOS).
From what i have learnt in lesson and through research i can see that there are three characteristics of lighting  these are light intensity, light direction and light colour.

Light Intensity, Is the quality of the image, whether the light is perceived as hard or soft and how much light is hitting the object. Soft light is more overall lighting, using soft boxes or umbrellas, where as hard lighting is created using equipment such as a snoot to create a strong beam of light and strong shadows. We can manipulate the light by adjusting the aperture and shutter speeds within the settings. We could used use different filters or by using other sources of artificial lighting.
Light Directions, is the angle we use the lighting we can make something look very three dimensional as well as two dimensional and flat this depends on the object which we are photographing. We can use different equipment to create different textures and effects. We can control the way the light is reflected carefully to create the desired effect.
Light Colour, is to do with the colour balance white light has a colour cast, as humans our eyes automatically adjust to this where as on a camera sensor it does not. We can adjust the colour balance on the camera in the settings before we take an image, or afterwards. These include Florescent Lighting which is usually a green tinted colour, Incandescent Lighting which has a low colour temperature so this is an orange colouring. Candle light is similar although this is more of a deeper orange colour. The colour balance can also be adjusted in photoshop after the image has been taken.

Tuesday 19 February 2013

Friday 15 February 2013

Final 5 Images For The Studio Photography Project/ Final Portrait And Still Life Image

Final 5 Images For The Studio Photography Project/ Evaluation

These are my final 5 images for the studio photography project, I feel as though these are my most successful shots and the ones in which i am most proud of.


Glass Photography 

One: Glass 

I think this was the best shot i created within the studio glass photography task. To create this i placed the glass piece in the centre with lighting from either side, one slightly more forward and one slightly more behind as you can see from the diagram below. I shot this image using my Canon 500D using different pieces of card to create the shadows and bring out the bright tones in the glass ornament.


Flower Photography 

Two: Flowers
 To create this photography, I used a black back drop and two light sources one soft box and one dim spot light. I wanted to keep the delicate looking effect whilst making the image quite dark and powerful. I think i created this quite well the flowers all still look delicate and pretty but then the dark tones work well in the leaves and inner of the flowers. I chose to photography these types of flowers because i thought the white would create a good contrast with the pink, and the green colour in the leaves would bring them both together. I chose to keep the broken flower drooping down as i think this works well with the dark lighting showing that the flowers at the top of the image are very bright/alive and well where as towards the bottom the water is murky and the flowers are dying and the leaves are more dim and fragile.


Low lighting Photography

Three: Low lighting
If i was to take these images again i think i would use a male model due to i think low lighting is mainly used to create an intimidating/ Masculine effect, and even though i really like this image i think it still looks to feminine and pretty. To create this we used black backdrops around all sides to enclose the model in, we had one light source coming though the gap of the two backdrops to create the highlights on the face.  The image below is an example of this set up.


Commercial Photography 

Commercial

This image was taking using one light source, flash and a reflector. I decided to create this one as i thought it was something slightly different then i had previously done. I wanted to create a homely scene, something people can relate to therefore selling a product. I edited this using photoshop CS3, i wanted to keep all the colours quite bold and strong but the varnish to be the brightest more prominent colour. If i were to do this again, I think i would try some new angles and to get rid of the reflection on the top of the glass bottle.


Jewelry Photography 
Jewlery

I thought it was quite challenging doing the jewelry shoot, trying to capture the different textures within each item as well as keeping the necklace the main focus and subject in the image. I edited this using lightroom I like the effect and different colours within this image. I think it may be slightly over exposed in some areas however i don't think it makes to much of a difference to the overall image.


Final Portrait:
Portrait

 This is my final Portrait shot, I decided to go with black and white and edit the contrasts and hue/saturation. I also added highlights into the hair and on the t-shirt as they started to blend in with the backgrounds around them. I decided to go with darker tones as with the clothing is already dark i feel this worked better. I used a light source from the right side as i wanted to just highlight one side and create a darker effect over to the left side.


Still life:

Still Life

I recently purchased this Halina 300 film camera and i thought it would be the perfect subject for my still life. I decided to use objects which were quite close to the heart in this image, such as photography, pictures and a charm bracelet passed down to me through family members, I wanted to try capture a meaning within this picture, a piece of me.I used one lighting source coming in from the right and my on camera flash. I think there is slightly to much glare on the camera lens however i don't think that it effects the image to much overall.


Monday 4 February 2013

Commercial Photography

Commercial Photography


I decided to try create something different and creative within my commercial photography, by setting up a makeshift scene. I use doll house furniture to create the homely scene i thought about doing this whilst i was watching my mum paint her nails with all the vanish over the coffee table, I thought it would be a good way to promote the nail vanish in an inventive sort of way. As nail varnish can be fairly messy i thought it would make a good effect to spill and catch the varnish as it was in mid drip. I placed each part of the nail varnish/top and brush in different areas in the picture so it was always the main focus where ever you looked. I also used the little cup and saucer as these are typical household items you would usually see on a living room table. I really enjoyed creating this as it was something different for me to experiment with. I then edited them in different ways to see which would look more effective, I think i will try edit these again as i am not entirely satisfied with how they have turned out.